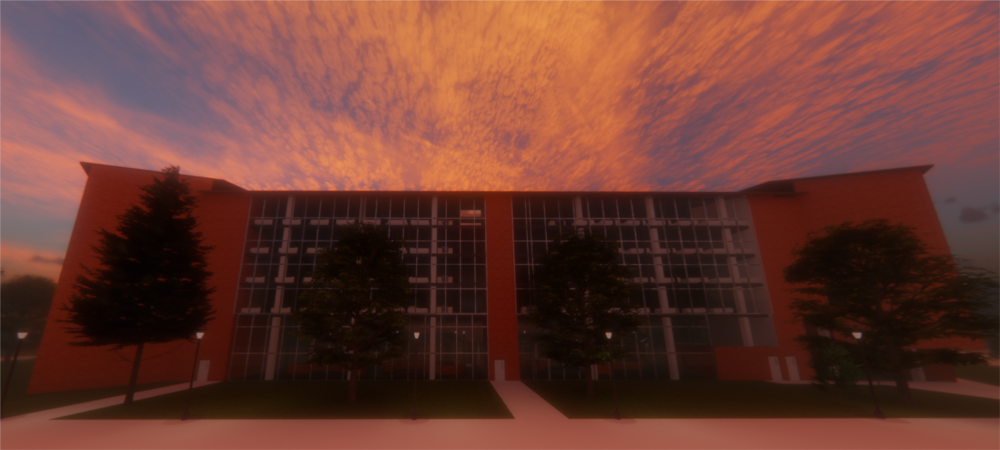
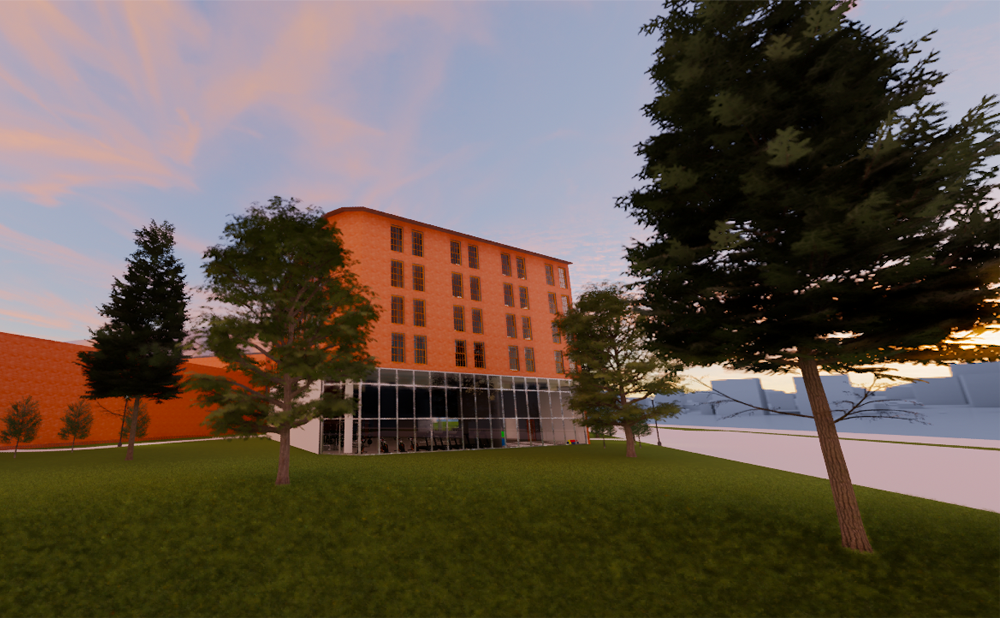
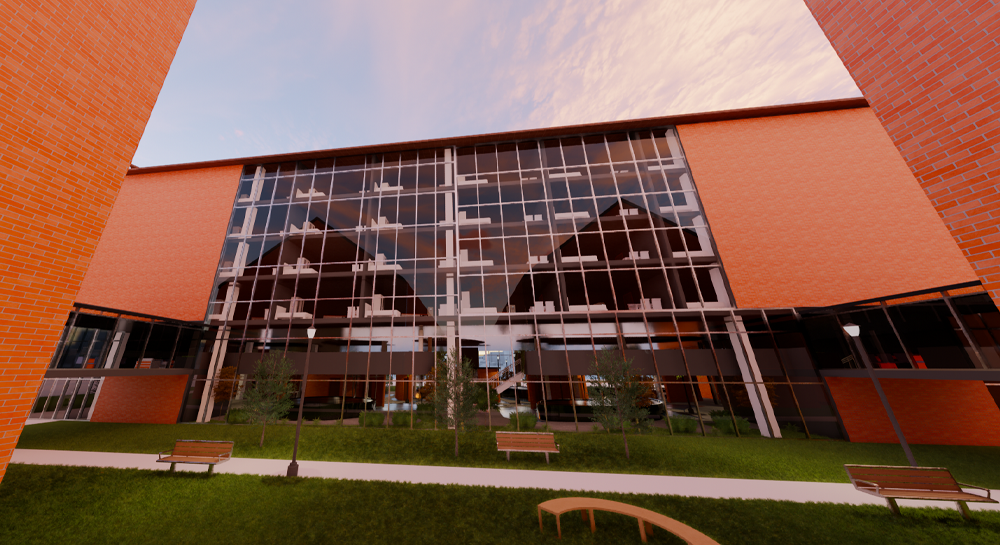
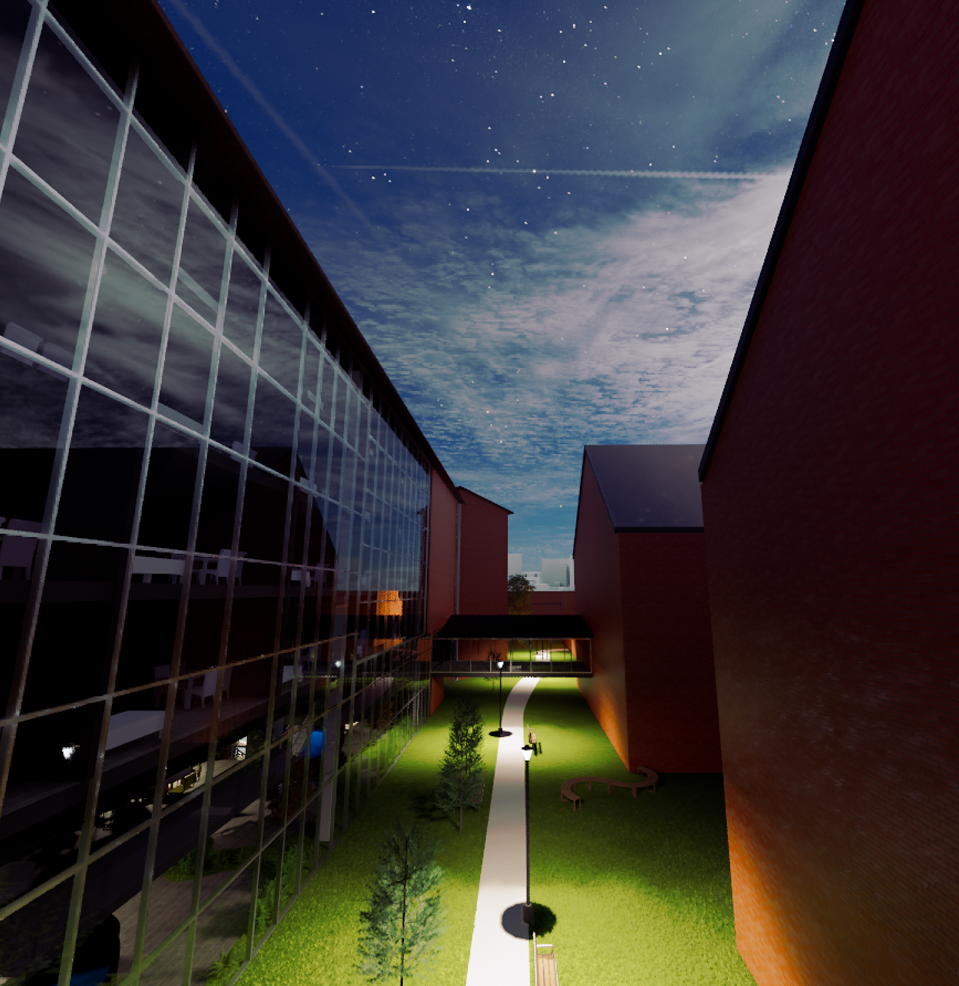
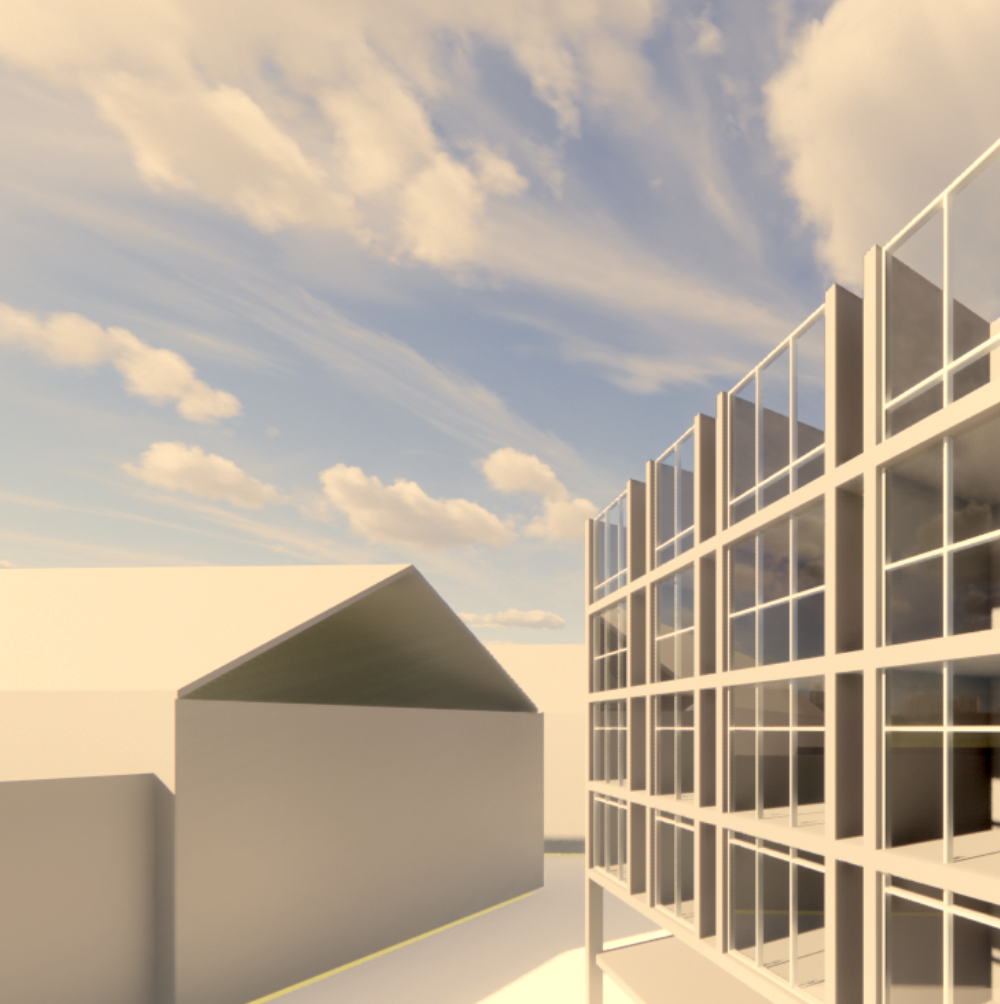
 Above: Render pre-moving the building closer to the school building
The Nettle
Introduction
This project involves the design of a new dormitory at a small Technical College, designed to provide students with a modern, functional, and dynamic living space. The dormitory will serve both as a residence and a hub for academic collaboration, social engagement, and personal well-being. By aligning with the institution’s values of hands-on learning, technology, and social diversity, the design will foster an environment that promotes both technical or non-technical careers, while also supporting personal growth and meaningful interpersonal connections.
Goals
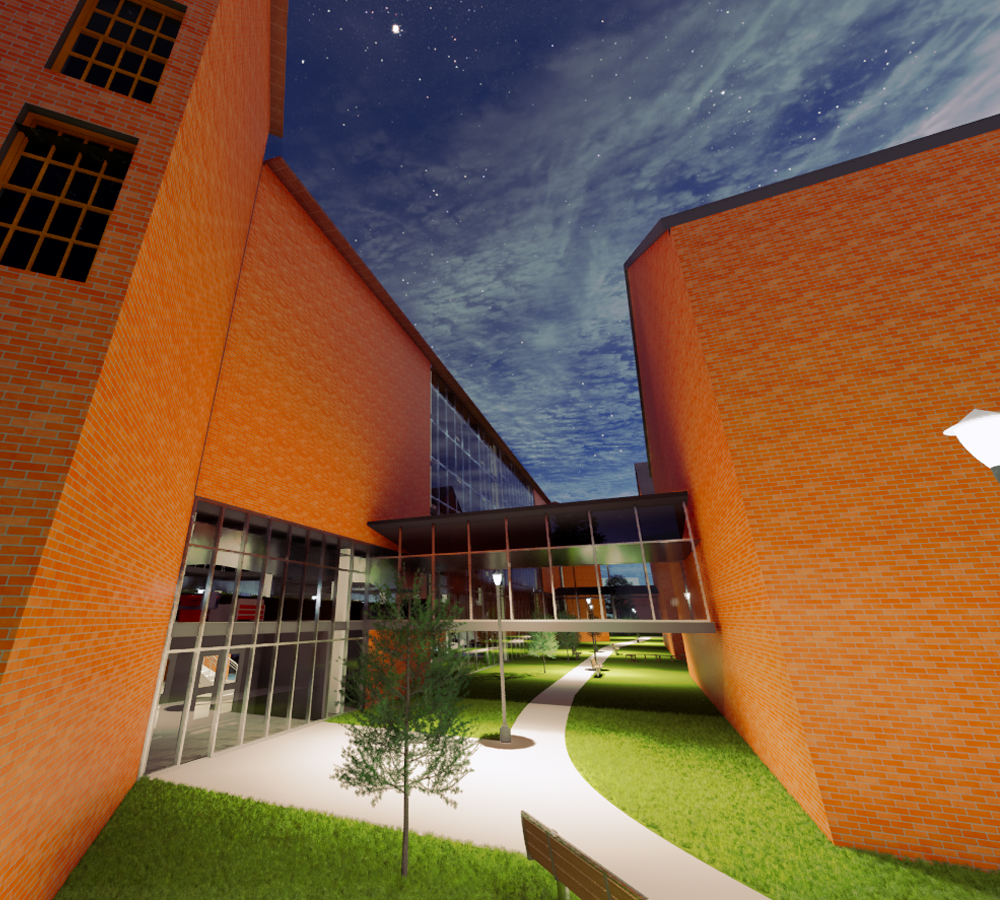
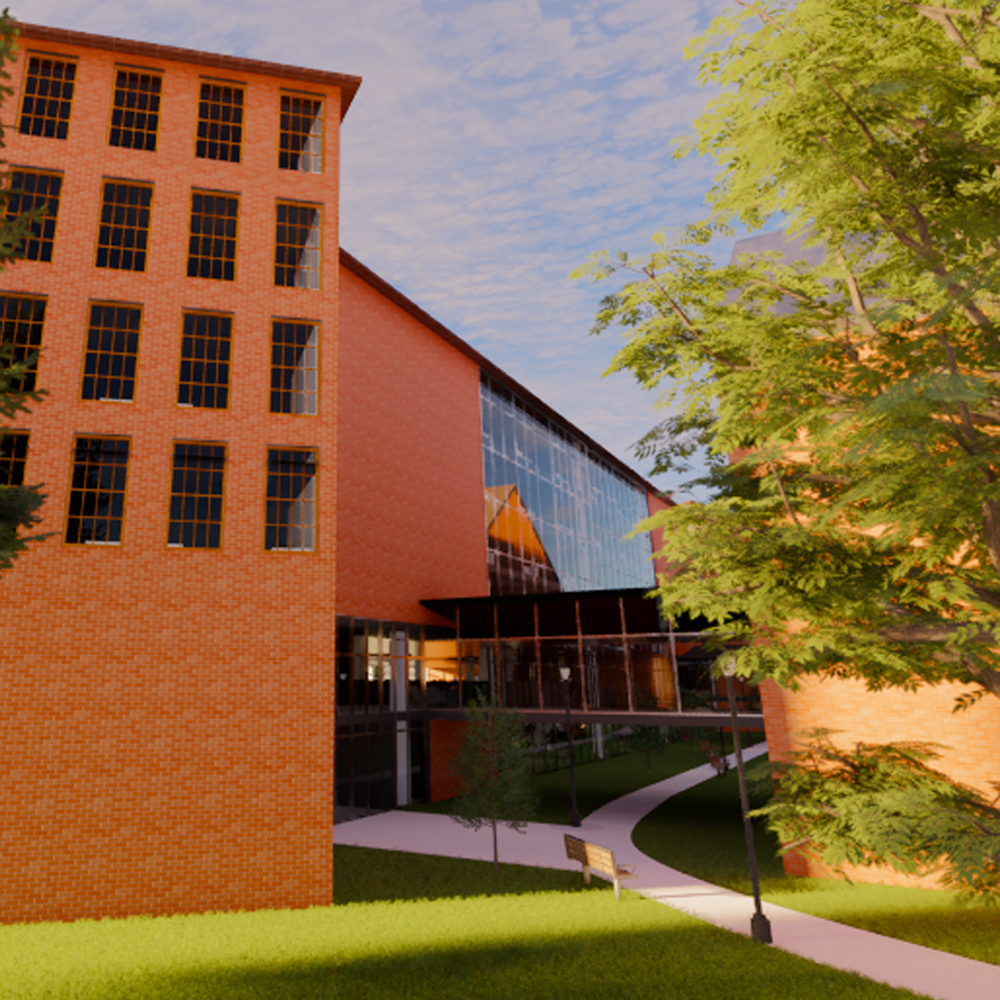
1.) To create a stronger, more inclusive campus community by having a variety of open study and lounge spaces along with dorms with multiple occupancies. 2.) To make a relaxing living space for young students by providing an atrium-conservatory with lots of natural light, a variety of community spaces, and natural elements throughout the building 3.) To use an eclectic layout with efficient circulation, balancing form and function. 4.) To have a cohesive style by mimicking the school’s architectural style of bricks, concrete, and red-accents. 5.) To provide safe and comfortable living spaces
Materials and Methods
We chose the north-side of main building to place our dormitory at first, because we thought it would be a safer location since students wouldn’t have to cross the street to go to school, nor would they have to endure much time walking through the cold Minnesota snow.
Mid-Project Suggestion Limitation
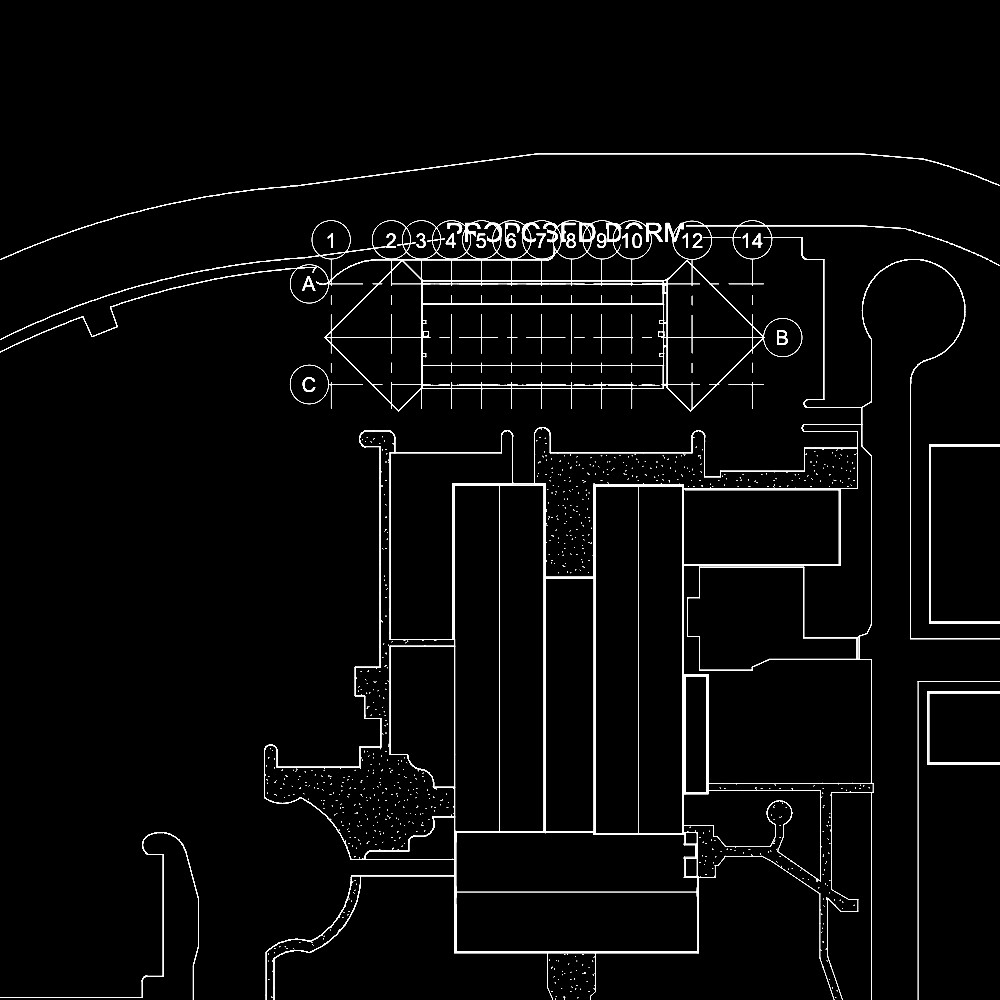
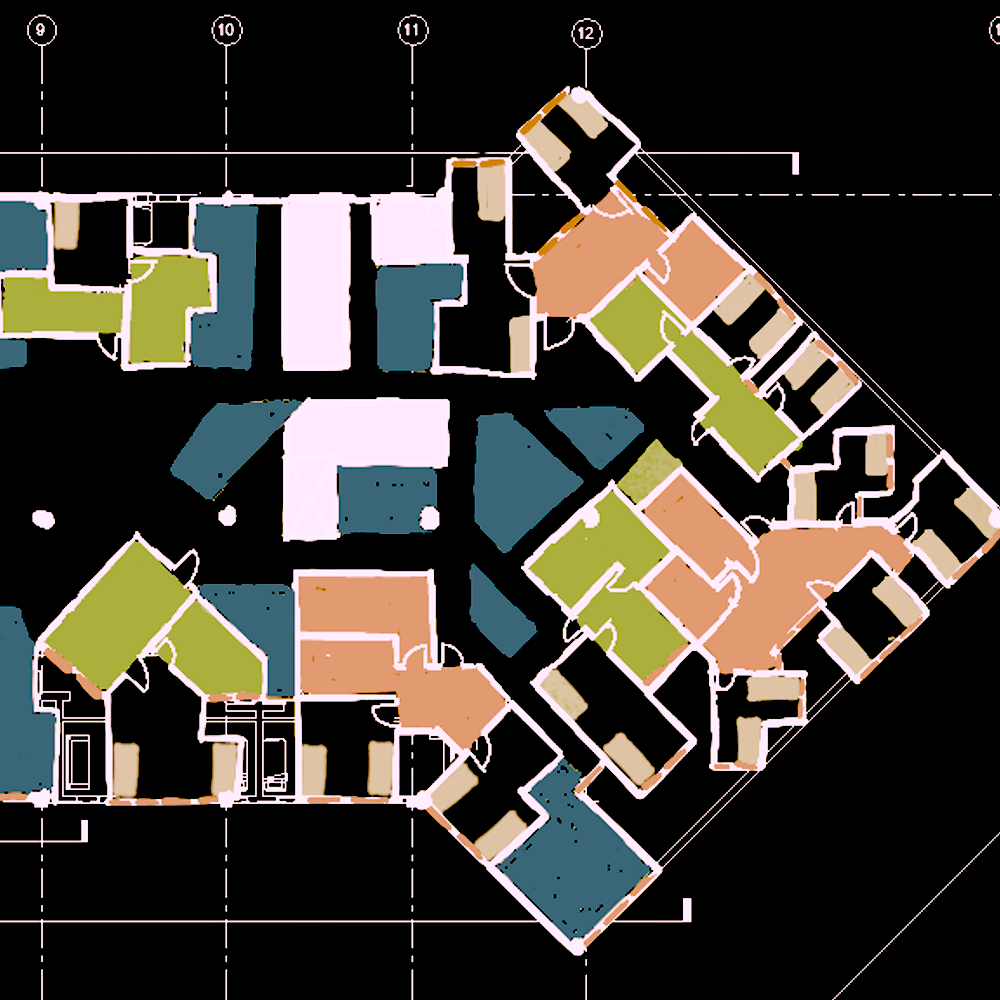
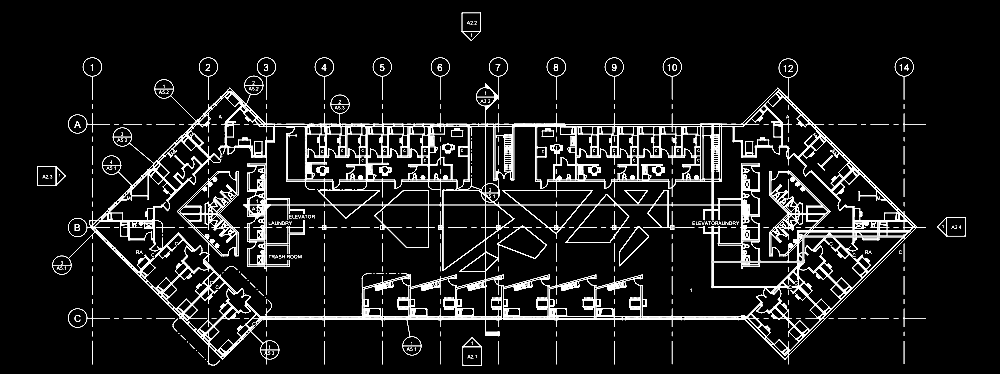
Our professor had strongly suggested that we make our building smaller, yet having already put in the room walls, the showers, the toilets, some windows, we would have to delete everything and start from scratch. I received the suggestion to come up with a floor plan that every floor from levels 3-6 would remain the same. We had an assignment that required us to have all of our floor plans ready to present, and so, my teammate gave me the job to create the floor plans for each assignment. Below is a portion of what I created for levels 3-6 of this dormitory. What this floor plan would accomplish would be making sure that each living space had it’s own window, fit 50 beds in the left-and-right sides leaving plenty of room for community lounges in the center, allowed each bedroom to have windows, and avoided common bathrooms. The plan even considered a trash room and 2 laundry rooms.
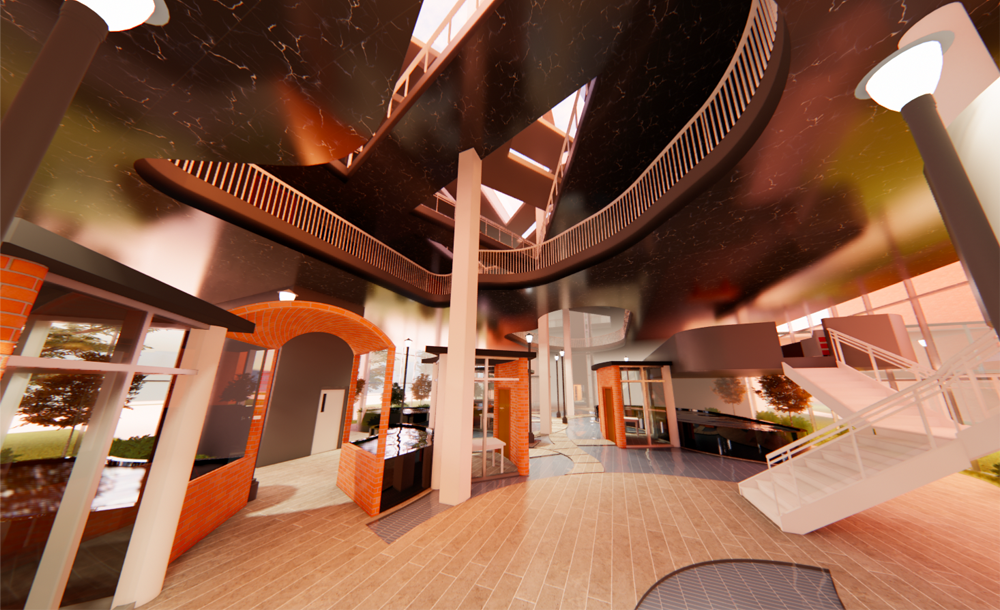
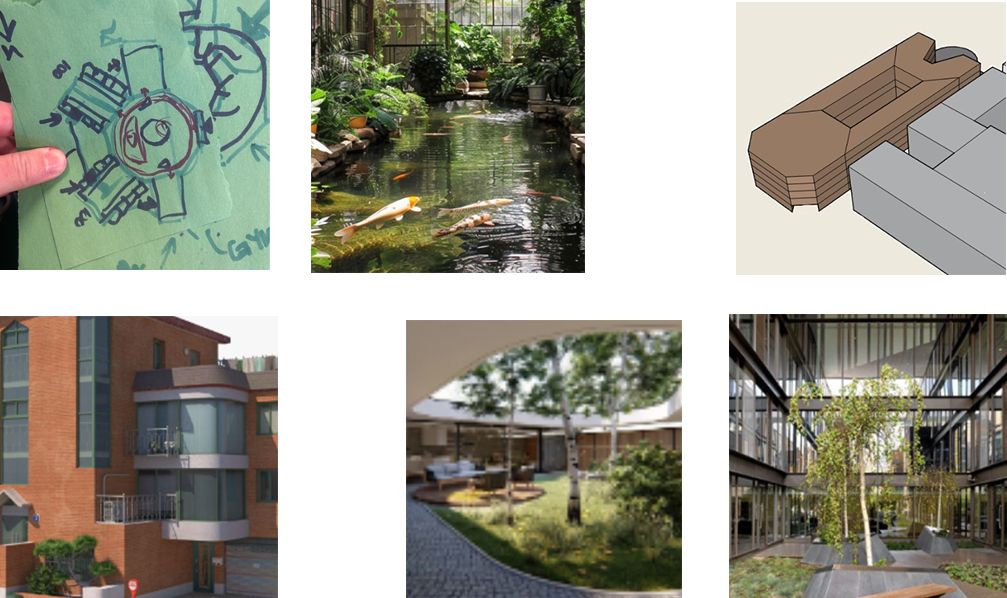
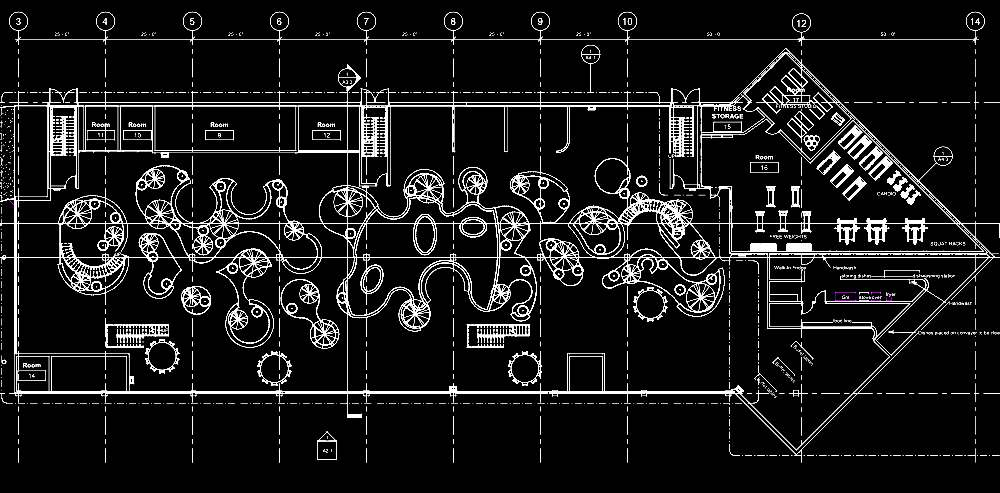
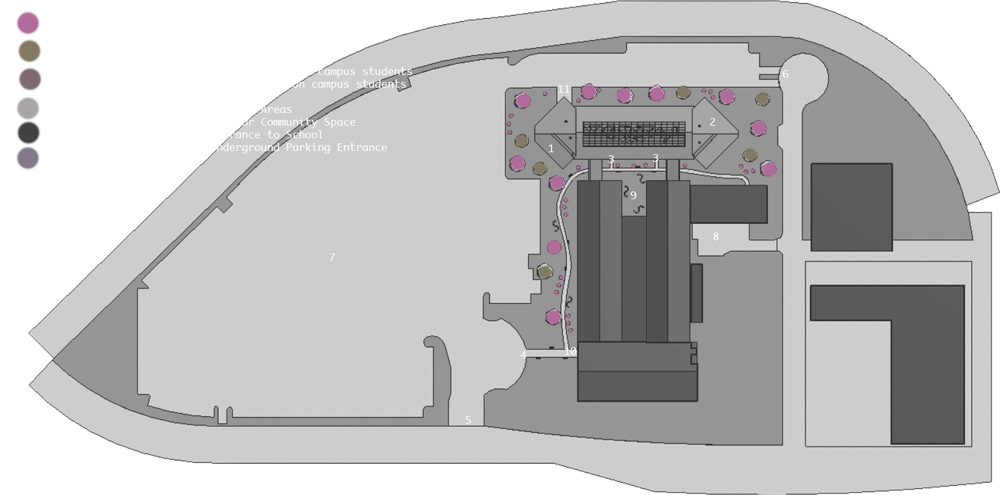
 In the process of working on the floor plans for the building, I had also came up with a concept for the level 1 floor plan. The idea was to bring the “outside in”. To come up with these curvy shape designs, I had to first draw a design on a drawing software, import it into revit, and use the curved-line tool to edit the floor borders. I then experimented with how to create a curved staircase, and implemented that into our building.
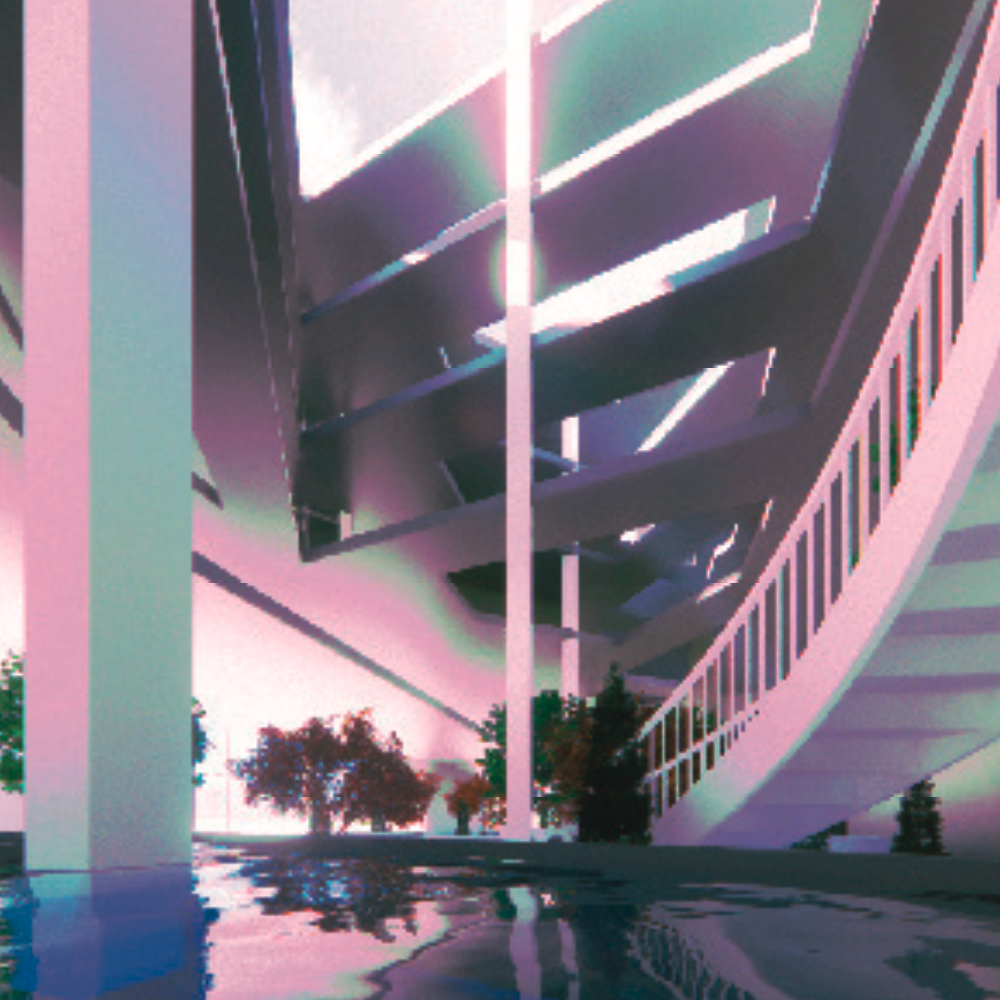
 The result of this: a grand atrium with a lot of space.
A bit of a setback
We didn’t like the floor plan that I proposed because it felt a bit too maze-like and confusing, so we switched to a design that would now have more organization and predictability.
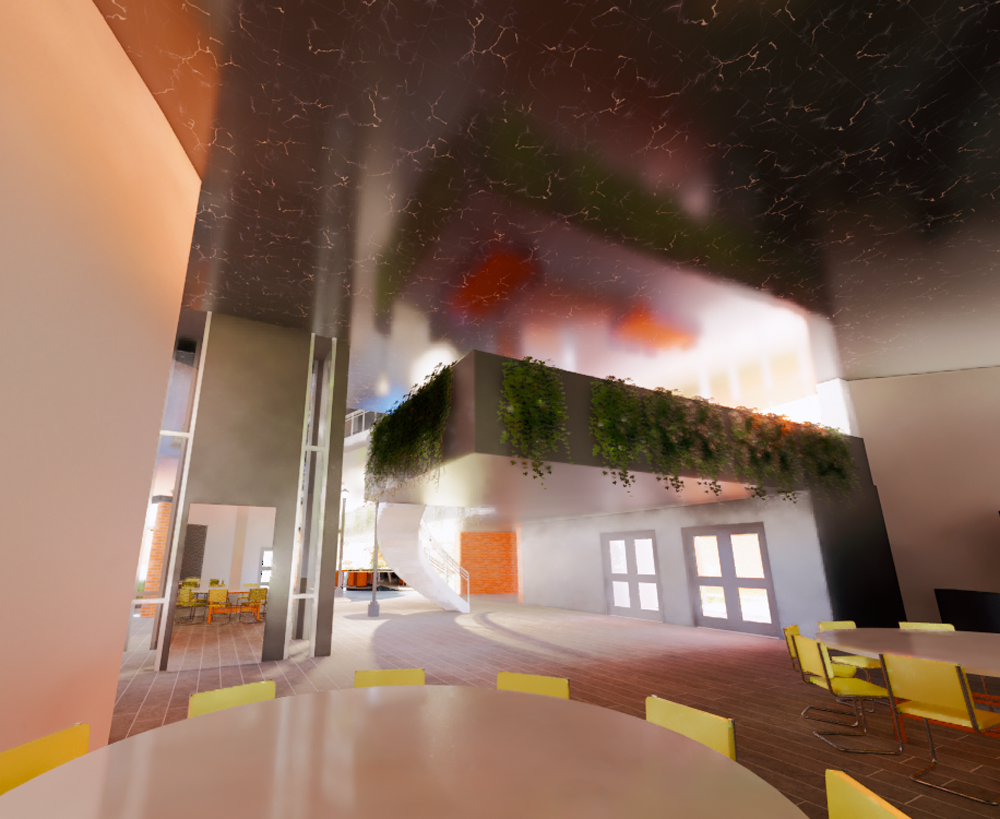
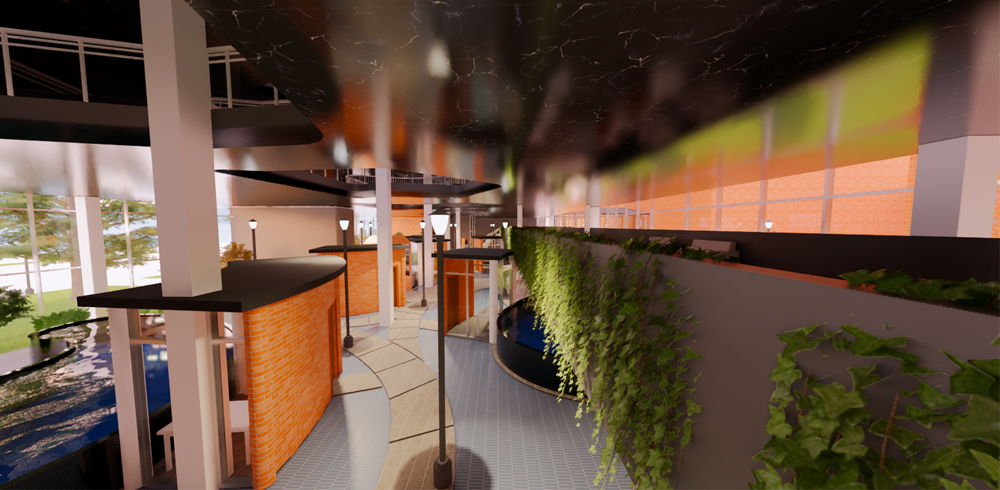
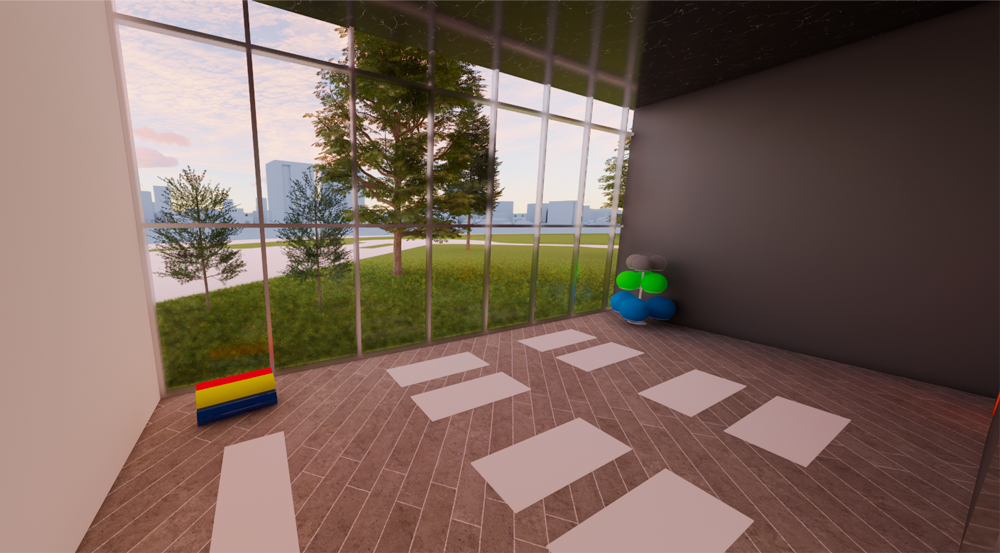
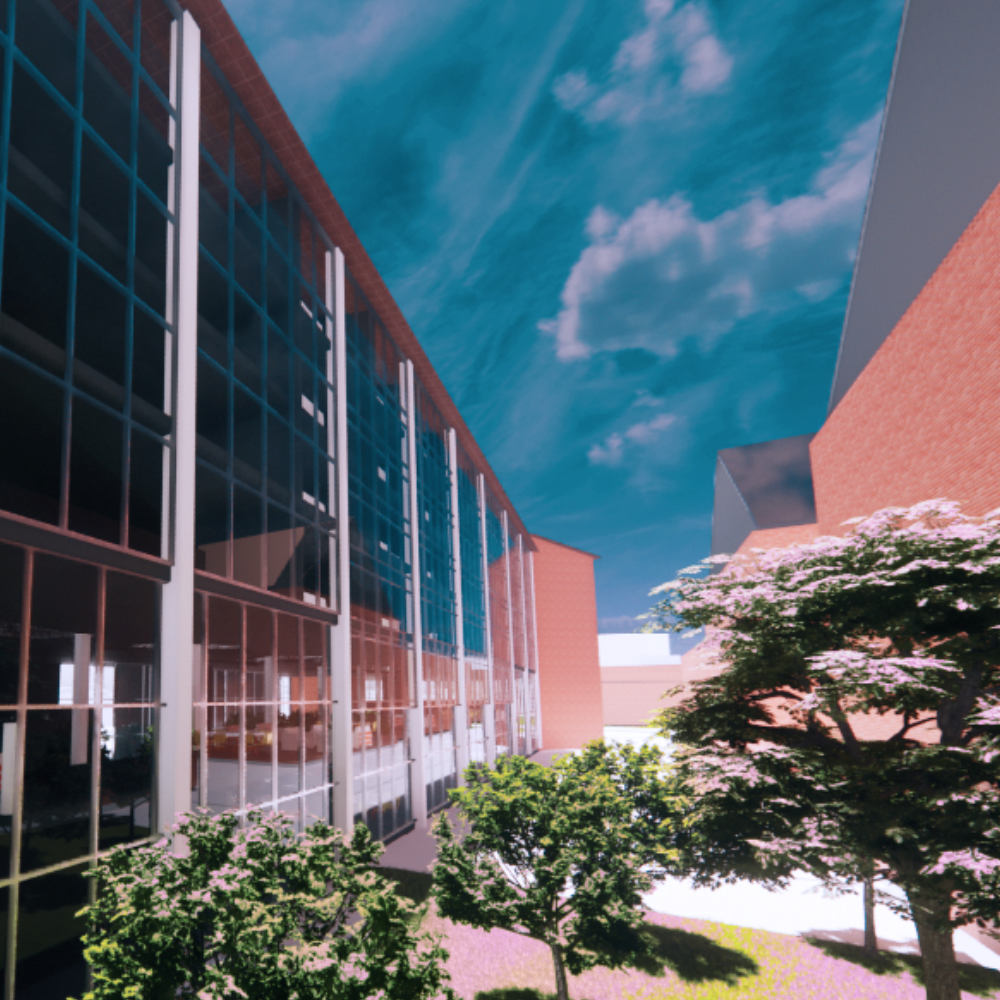
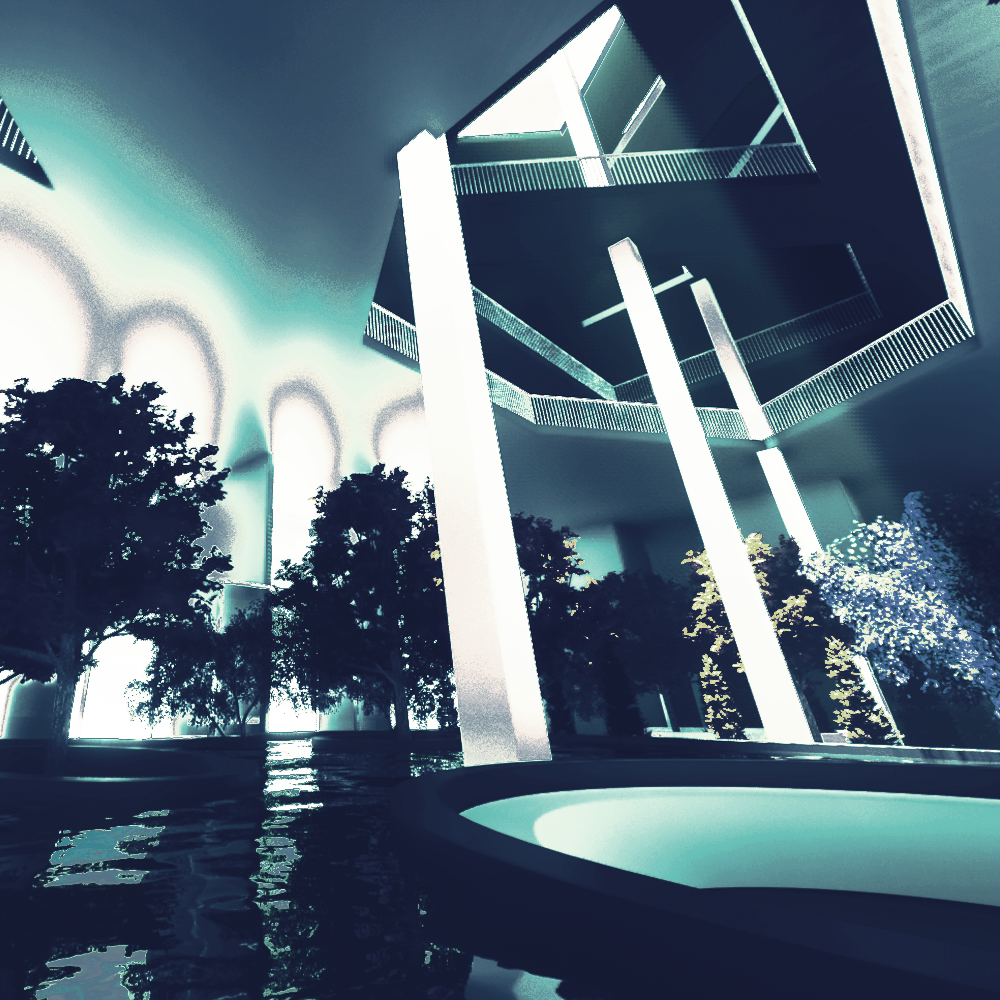 Above: Render of interior pre-decision to move the nature closer to the south side of the building
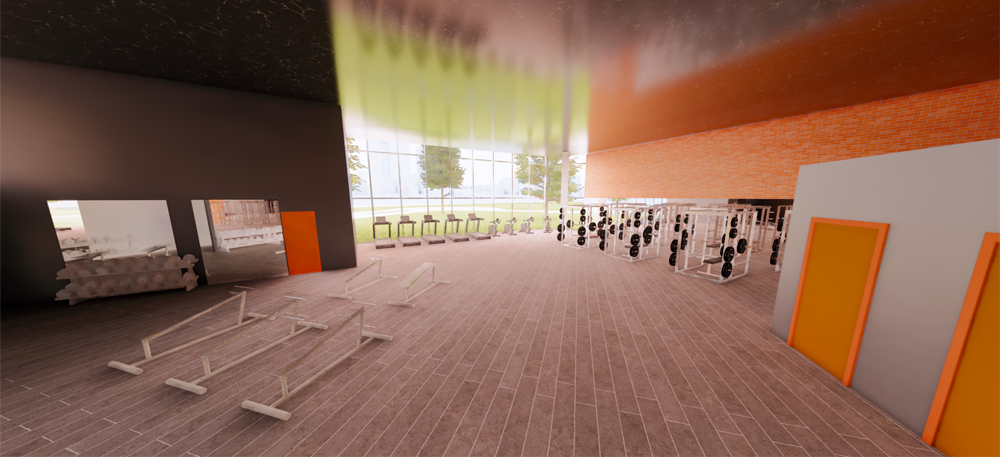
Schematic Design Assignment
The schematic design phase includes varying objectives. The primary objective is to develop a clear, defined, feasible concept. The secondary objective is to further clarify the program and explore design solutions.
The typical deliverables of a schematic design are a simple but clearly defined site plan, a “right-sized” floor plans for each level; a simple but clearly defined building elevation design (on every side); key building sections showing vertical relationships; initial building materials, finishes, mechanical, electrical, and equipment selections; connections showing how program requirements are implemented in designated areas; and presentation illustrations including renderings, models, computer simulations, and other drawings.
Task List
Site Plan
- The surrounding buildings, circulation routes, and parking
- Residential parking layout and access (driveways, travel lanes, parking stalls, etc.)
- Paving (sidewalks, patios, and other paved surfaces)
- Plantings (trees, shrubs, plantings, lawn, etc.)
- Site features (gazebos, pavilions, arcades, bridges, etc.)
- Exterior lighting and site safety concept
- Include a numbered legend showing places on the colored map
- Label parking, outdoor spaces, buildings, and entrances
- Include a north arrow
- Show landscaping
- Show existing/new parking
Floor Plans
- Floor plan for level 1
- Floor plan for mezzanine
- Floor plans for levels 2-5
- Label types of rooms, the stairs, the elevators, the trash rooms, female and male bathrooms
- Add a legend
- Color code the map on photoshop
- Include north arrows
- Include a numeric scale
Dorm Rooms
- Put measurements on the outside of the rooms - not inside
- Label the types of rooms
- Label the square footage of each room
- Have a numeric scale
- Show windows
- Label different areas of the room (desk, closet, mechanical)
- Give 3D spaces of each room
Amenity Spaces
- Floor-plan for each space
- Floor plans includes labels within the room
- Show furniture
- Include north arrow
- Have a numeric scale
- Include doors and windows
Elevations
- All 4 views on sheets
- Show materials/cladding (color preferred)
- Show types of windows and doors proposed
- Label each elevation
- Label features of the elevations
- Show floor levels
- Include trees and exterior things
Sections
- 2 sections showing vertical spaces and relationships
- Label stairways
- Label Atriums/tall spaces
- Label Rooms/Spaces within sections
- Label each section with directions (East-West, North-South)
- Show floor levels
- Include numeric scale
3D Views
- 1 Main entry view
- 2 Additional any views
- Include view of relationship to school building
- Use colors and cladding patterns
- Show doors and windows
- Label direction of the view
Interior 3D Views
- 1 view of each special amenity space (4)
- 1 of entrance (what is seen when you first enter the building)
- 1 or more of dorm rooms (of EACH type)
- label views
Life Safety Plan
- 1 plan for each unique floor plan with spaces labeled
- Egress information
- Travel distance
- Separation of exits
- Occupancy types/number of occupants
- Overall square footages
- Fire Barriers
- Accessibility
- Preliminary plumbing calculations
- Parking calculations
Wall Construction, Mechanical, Cladding
- Preliminary decisions on wall-types - exterior and interior
- Mech heating/cooling decisions
- Cladding materials
- Roofing materials (steel, asphalt, tile, membrane)
Presentation
- Include logo on each page
Materiality
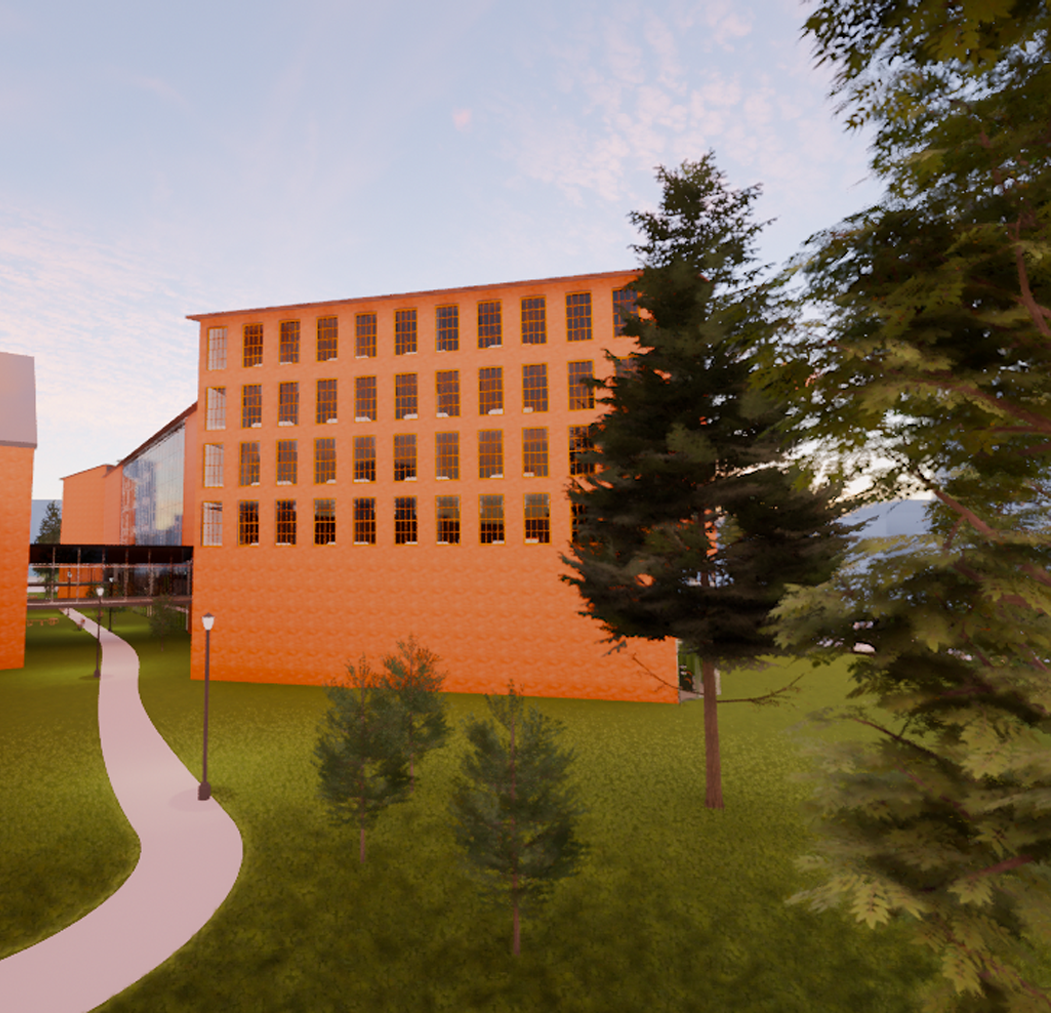
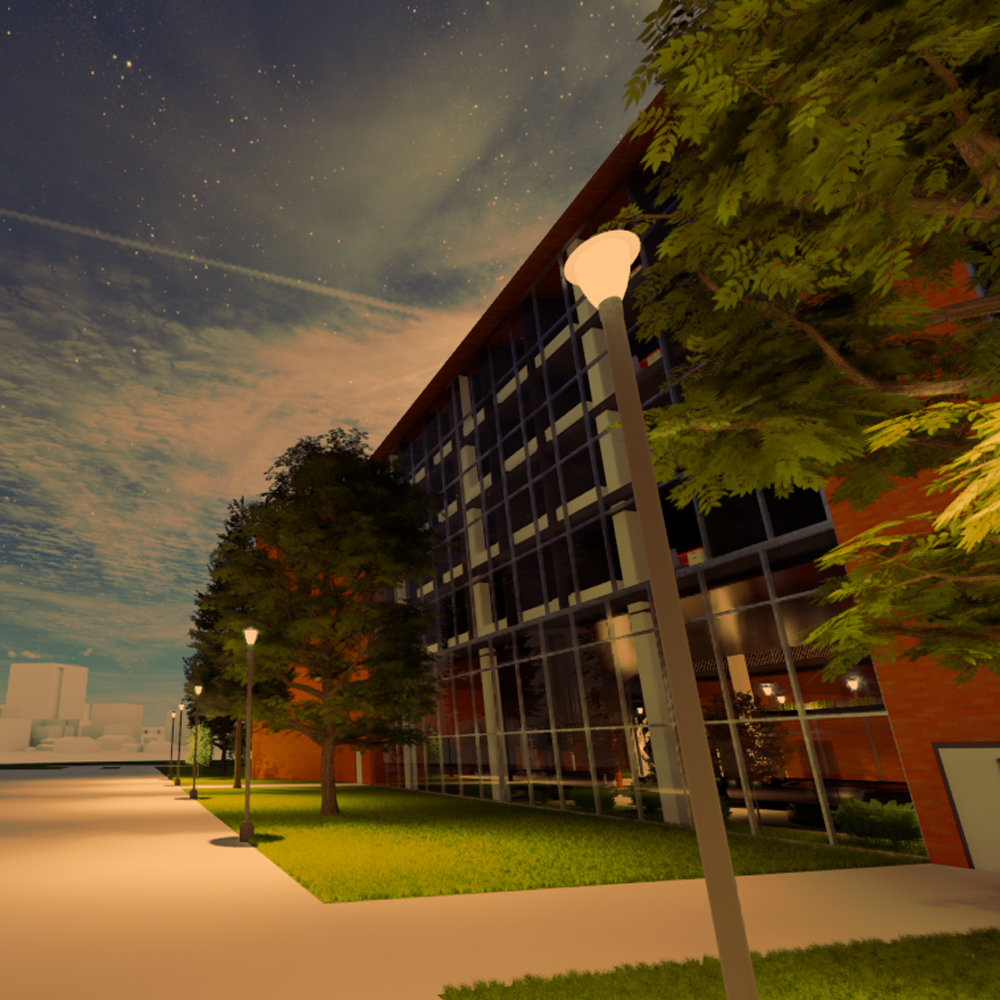
We chose to have the outside of the building be brick for sustainability purposes and for matching the color of the school.
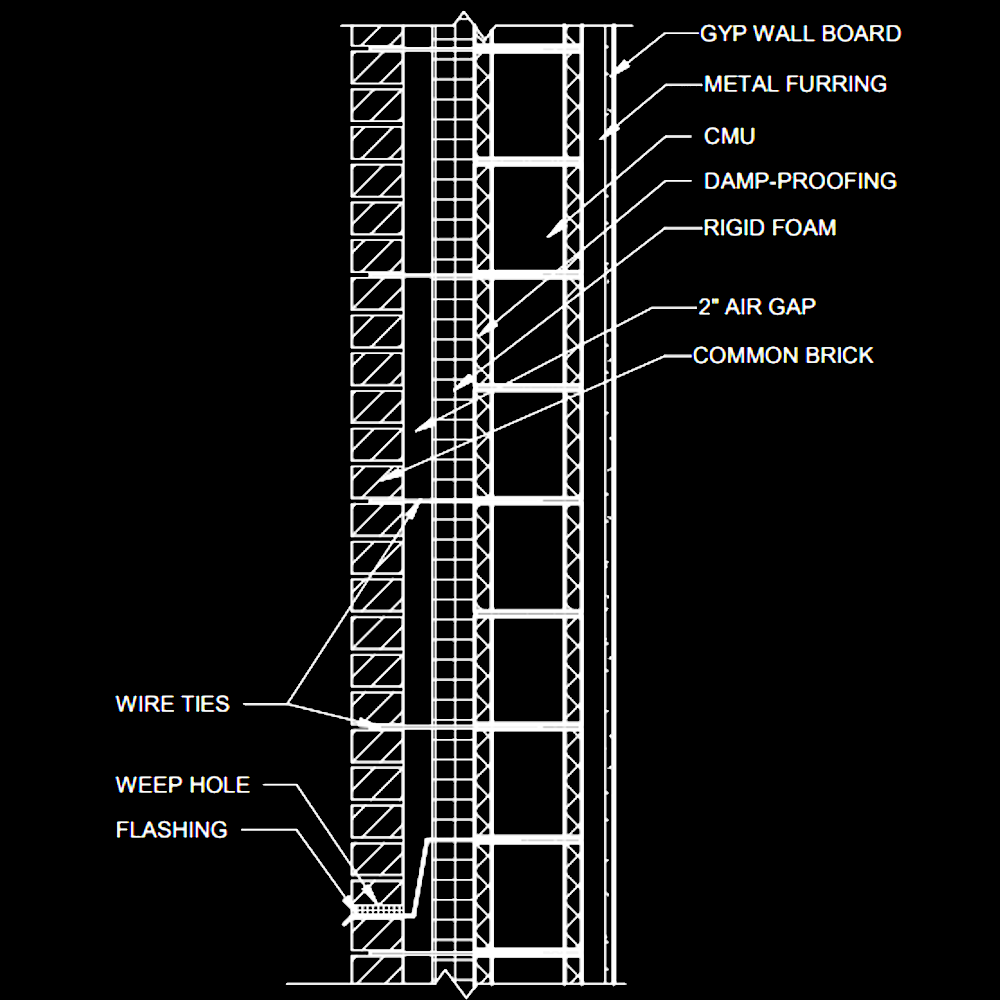 Above: Picture of the Masonry Detail I drew on AutoCAD
Results